The decision
This is a 2 vs 1. The side with the most Battlefield Points at the timer wins. The group picks the building that is scoring and stays on it.
When matching completes, your Task Force is assigned a faction at random. It can differ from the one you asked for. Check it in spawn, then follow your side below.

How to get points
Battlefield Points decide the match. They come from holding buildings, not from kills.
Main sources
- Hold buildings. Points add up every second you hold one. The higher a building’s rate, the more holding it pays.
- Power Tower: +120 a second, the highest early rate. For Rulebringers it also shields the Central Safe Zone.
- Virus Lab: the main late-game score. It opens later. The screen doesn’t give its rate. Players report about +120 a second.
- Data Centers +20 a second, Sample Warehouses +15, Defense Systems +20, Serum Factories +20.
- Power Stations: send idle troops to gather them.
- Take banked points. Buildings keep scoring past their cap. Capture one the enemy has held a while and the extra is yours. This is a big swing mid- and late-game.
- Garrison all the time. Every second of garrison also pays +500 energy (Individual Points), which buys your skills. Skills protect your buildings and clear the enemy’s.
- Keep every troop busy. Send unused squads to Power Stations or smaller buildings.
The order that works for most groups: take the buildings near your spawn, contest the Power Tower, take the Defense System before you sit in core buildings, move the stack onto the Virus Lab when it opens, and take any enemy building that has been held a long time.
How to avoid losing points
- Don’t leave long-held buildings unguarded. The enemy takes the banked points when they capture one. Hit theirs for the same reason.
- Don’t garrison core buildings while the enemy holds the Defense System. It damages your troops in the Virus Lab, Serum Factory, Power Tower, and Defense System.
- Rulebringers: don’t split across too many fights. Dawnbreakers: don’t put both teams in one fight and leave the rest of the map free. Empty high-value buildings feed the other side.
- Don’t fire skills at empty ground. Seismic Tower, Turret, and Judgment Day hit enemy bases. Land them where the bases are bunched.
- Don’t ignore the Defense System once it opens. Retake it before you commit to the Virus Lab or other core buildings.
- Don’t leave the field. Leaving blocks re-entry. A temporary exit does not.
- Don’t skip energy. Skills cost a lot. Garrisoning early pays for the tools you need later.
- Don’t chase fights away from buildings. Kills don’t score Battlefield Points. Fight only to take or defend a building.
How to win
The side with more Battlefield Points when the timer ends wins. There is no early win like Winter Battlefield’s 30,000. Steady holding plus well-timed captures of banked points decide it.
Both sides
- Set roles before the match. Who holds the main building, who rotates the smaller ones, who gathers Power Stations, who saves the skills.
- Follow the map: buildings near spawn, then the Power Tower and Defense System, then the Virus Lab when it opens.
- Stack garrisons where the game allows. More troops in a key building makes it harder to take.
- Use skills to clear enemy bases around the building you’re fighting for, then take it back.
- Watch the score and the timer. At the end, holding your highest-rate buildings usually beats chasing new captures.
- Talk in battlefield chat. Call it when a building is under attack or banked points are ready to take.
If you are Rulebringers
- Stay together. Your whole side is one team (the game calls it a Task Force), so move and fight as one group. One player on your side can be assigned as the Judicator, the only one who can use Judgment Day.
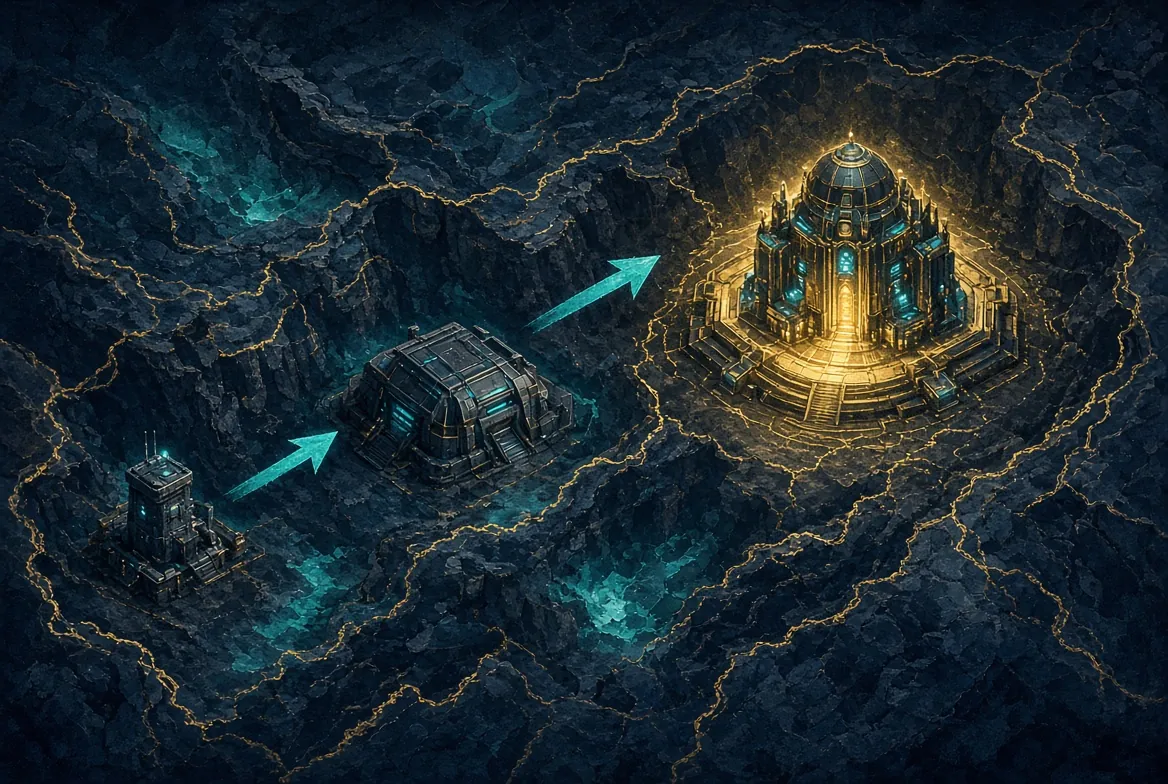
- Stage 1. Take the two Data Centers by your spawn, then go straight for a Power Tower. It pays +120 a second, six times a Data Center, and holding it shields your players in the Central Safe Zone.
- Stack your garrisons. Stand Ready lets more than one troop garrison the same building. Put several in the Power Tower, then in the Virus Lab. The enemy has to break all of them.
- Stage 2. Defense System before a Serum Factory. Once you hold it, it damages enemy troops garrisoned in core buildings.
- Stage 3. Move the stack to the Virus Lab when it opens.
- Judgment Day. Save it for when enemy bases are bunched up, such as around the Virus Lab. Each base it blasts cuts 30 seconds off your teleport cooldown, so the Judicator can keep teleporting into the crowd for its 120 seconds.
If you are Dawnbreakers
- Work as two teams. Your side is two teams (the game calls each one a Task Force). You have the numbers, so hold more buildings at once. Coordinate in the battlefield chat.
- Stage 1. One team takes the four Sample Warehouses by your spawn. The other goes for a Power Tower. It pays +120 a second, and while you hold it, the Rulebringers cannot use it to shield their safe zone.
- Stage 2. Defense System before a Serum Factory. Once you hold it, it damages enemy troops garrisoned in core buildings, including the Power Tower.
- Stage 3. Both teams converge on the Virus Lab when it opens.
- Turret. Teleport it next to the enemy bases around the building you are fighting for. It hits the nearest enemy base every 2 seconds for 30 seconds.
Reference
From the in-game Canyon Storm tabs. Check a name here when the plan mentions it.
Buildings, by stage
Stage 1
 Data Center I. Two, near the Rulebringers spawn. +20 a second.
 Sample Warehouse I. Four, near the Dawnbreakers spawn. +15 a second.
 Power Tower. +120 a second. If Rulebringers hold one, they can shield the Central Safe Zone. Bases inside cannot be attacked.
Stage 2
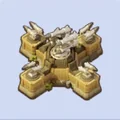 Defense System I. +20 a second. Once captured, it hits enemy-held core buildings (Virus Lab, Serum Factory, Defense System, Power Tower) and the troops inside.
 Serum Factory I. +20 a second. At regular intervals it gives a buff to the commander who controls it. The buff is announced in advance.
 Power Station. Appears at random. Gather it with idle troops.
Stage 3
- Virus Lab. Center of the map, large points. It opens after a period. The screen does not give the minute.
Scoring
 Points Supply Box. A held building keeps scoring past its cap. Defeat that building to take the extra.
Energy
Skills are paid with energy, which the game also calls Individual Points. You earn it by contributing in battle. It is separate from Battlefield Points.
 One second of garrison: +500.
 Occupying a Power Plant: +100.
 Collecting excess points: +100.
 A defeat: 4–22.
 A heal: 2–11.
 A severe wound: 2–11.
 One durability destroyed: +5.

Skills
 Seismic Tower, Rulebringers. Teleport. 1000 durability on landing, then 300 durability and 60 severe wounds every 3 seconds. Lasts 30 seconds. Costs 500,000 energy. 300-second cooldown.
 Turret, Dawnbreakers. Teleport, then every 2 seconds, 300 durability damage and 60 severe wounds on the nearest enemy base in range. Lasts 30 seconds. Costs 750,000 energy. 300-second cooldown.
 Field Hospital, both sides. Teleport, then every 3 seconds restores 300 durability to nearby allied bases and heals 150 of their wounded units. Lasts 30 seconds. Costs 500,000 energy. 300-second cooldown.
 Judgment Day, Judicator only. While it is up, a teleport deals 5000 durability in a wide area. A blast cuts your teleport cooldown by 30 seconds and adds 60 to theirs. Lasts 120 seconds. Costs 1,000,000 energy. 300-second cooldown.
- Free teleport. One on an interval, then a cooldown. Teleport is off during the cooldown.
Stand Ready, Rulebringers only
- Base durability maximum +50%.
- Relocation cooldown −50%. Free march speed-up cooldown −50%.
- Individual Points needed for skills −30%. Skill cooldown −30%.
- Severe wound rate −20%.
- Exclusive Frontline Safe Zone.
- More than one troop can garrison the same building.
- One random buff after the match:
 Frontline Rescue. Severe wound rate −5%. Recovers 50 wounded units every 5 seconds in the hospital.
 Fortified Works. Severe wound rate −10% while garrisoning the base. Recovers 100 base durability every 5 seconds.
 Scorched Earth. +100% severe wounds to units on the Drill Ground when you breach a base. Durability damage +50%.
Rate this guide
No ratings yet.
Comments
- No comments yet.